So, you're staring at that plain concrete slab and thinking, 'Man, this could really use some color.' Concrete staining is a fantastic way to turn a dull surface into something vibrant and unique, whether it's an interior floor or an outdoor patio. But before you grab a bucket of stain, let's talk about what you're actually signing up for.
What Exactly Is Concrete Staining?
When we talk about concrete staining, we're usually thinking about two main types: acid-based (reactive) stains and water-based (non-reactive) stains.
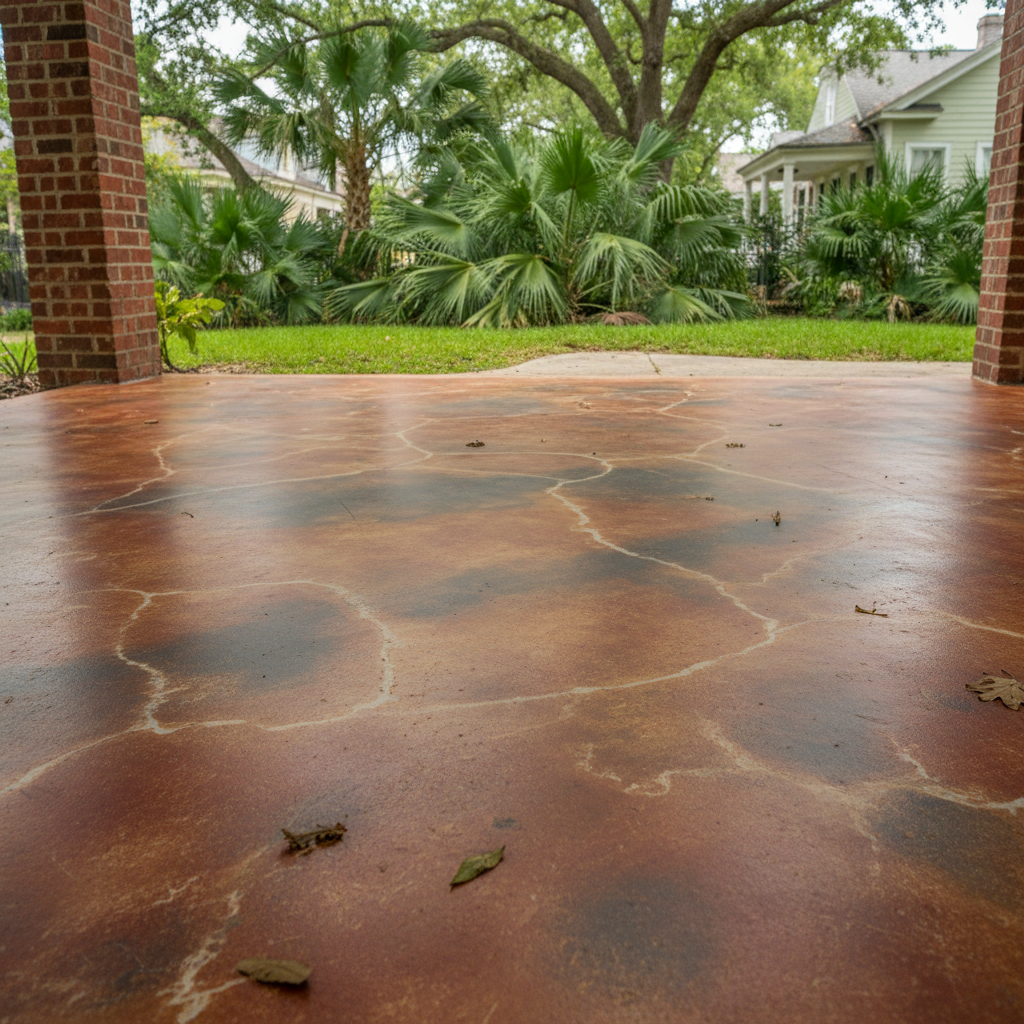
- Acid Stains: These aren't paints, not at all. They're a mix of acidic salts and metallic ions that react chemically with the free lime in your concrete. This reaction creates a translucent, mottled, permanent color that often looks a lot like natural stone. Because it's a chemical reaction, every slab reacts differently, so you end up with a truly one-of-a-kind finish. The downside? The color palette usually sticks to earthy tones – browns, greens, blues, and terra cottas.
- Water-Based Stains: These stains don't react chemically. Instead, they just penetrate the concrete surface and deposit pigment there. You get a much wider range of colors, including pastels and bright hues, and the color tends to be more uniform than with acid stains. They're also generally easier to put on and have fewer hazardous chemicals, which is a plus.
Both types need a good sealer afterward, no question, to protect the color and the concrete itself.
Before You Even Think About Staining
This is where most DIY projects go completely wrong. Prep work is absolutely everything, especially here in New Orleans where we deal with humidity and old, sometimes neglected, concrete. You've got to clean that concrete like your life depends on it. Any dirt, grease, old paint, sealers, or even just dust will stop the stain from getting in properly. For acid stains, this is super critical because anything blocking the pores means no chemical reaction will happen.
First, take a good look at your concrete. Is it new? Old? Does it have cracks or spalling? Staining won't hide imperfections; in fact, it'll often make them stand out even more. If you've got major cracks, you'll need to fix those first. We're talking about a really thorough cleaning with a degreaser, a stiff brush, and a power washer. Let it dry completely – and I mean completely – for at least 24-48 hours, depending on our lovely humidity. Don't skip this step. Seriously, don't.
DIY or Call Omega Concrete Solutions?
Alright, here's the big question. Can you do this yourself? The answer is: maybe. For smaller, less critical areas, a DIY water-based stain project can be pretty rewarding. Think a small patio, a shed floor, or a utility room. The application itself isn't rocket science – usually, you use a sprayer or a roller, then back-brush. But there are a few things that push a project right into 'call a pro' territory:
- Large Areas: A big interior floor, a whole driveway, or a huge pool deck? That's a ton of surface to prep, stain evenly, and then seal. Keeping the application consistent over a large area is tough for an amateur, believe me.
- Acid Stains: These are trickier. The chemical reaction is unpredictable, and getting an even, natural-looking mottling takes practice. Plus, you're dealing with acids, which means proper safety gear and ventilation are non-negotiable.
- Existing Coatings or Sealers: If your concrete has an old sealer, paint, or epoxy coating, you'll need to strip it all the way off. That's a messy, labor-intensive job that often requires specialized equipment and chemicals.
- Complex Designs: Want multiple colors, stenciling, or intricate patterns? That's definitely a job for the pros.
- Indoor Spaces: Staining an interior floor means protecting walls, baseboards, and furniture from overspray and drips. It's a much higher stakes game than an outdoor slab.
- Moisture Issues: If your slab has moisture problems – pretty common in our climate, especially with older homes in areas like the Garden District – staining won't fix that. You need to address the moisture first, or your stain and sealer will fail.
If you're going the DIY route, make sure you do a test patch in an inconspicuous area. Always. And wear proper personal protective equipment (PPE): gloves, eye protection, and a respirator, especially with acid stains.
During the Staining Process
If you're doing it yourself, follow the manufacturer's instructions to the letter. They're not suggestions, they're rules. Apply in thin, even coats. Don't let it puddle. For acid stains, you'll need to neutralize the acid after the desired reaction time, then rinse thoroughly. For both types, make sure the surface is completely dry between coats and before sealing.
After the Stain: Sealing is Key
Once the stain is dry, you absolutely have to seal it. The sealer protects the color from UV rays, foot traffic, and spills. It also makes the concrete easier to clean. There are different types of sealers – acrylics, epoxies, urethanes – each with its own pros and cons regarding durability, finish (matte, satin, gloss), and cost. For outdoor applications, you'll want a sealer that can stand up to our intense sun and humidity. For indoor, think about how much traffic it'll see.
Apply the sealer in thin, even coats, again following manufacturer instructions. Putting on too much can lead to bubbling or a cloudy finish. Once sealed, give it plenty of time to cure before putting furniture back or walking on it. This can take several days.
Maintaining stained concrete is pretty easy: regular sweeping and mopping with a mild cleaner. Reapply sealer every few years, especially for high-traffic outdoor areas. It's a small investment to keep your beautiful floor looking great.
So, there you have it. Staining concrete can be a great project, but know what you're getting into. If you're unsure, or if your project is big or complicated, don't hesitate to give us a call at Omega Concrete Solutions. We've seen it all, and we're happy to help you get it right the first time.